The Outlook Add-In feature will allow users to read, open and create new MTRs within Outlook.
The Excel Add-In is used to open the MTR list and extract records within Excel.
Instructions for both applications are below.
Excel Add-In
The following document will show how the Excel add-in is used.
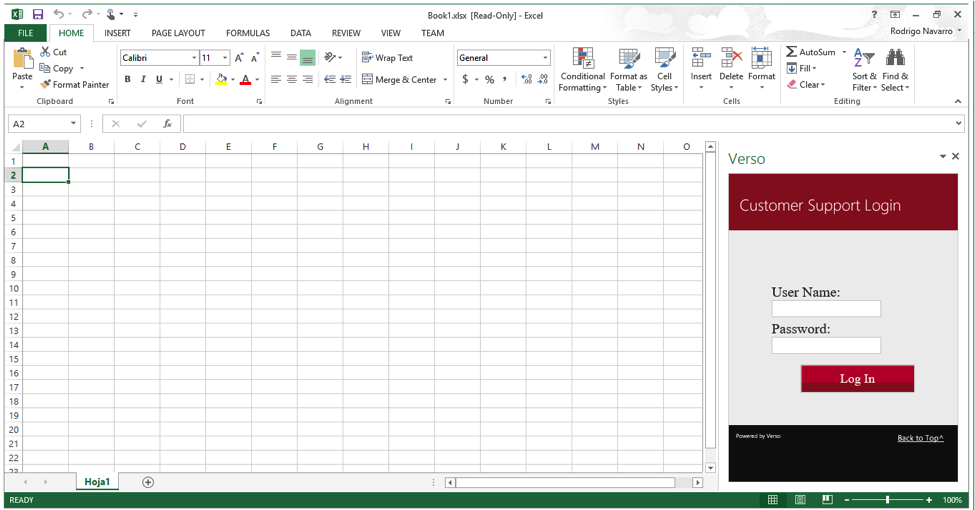
The login page will load first:
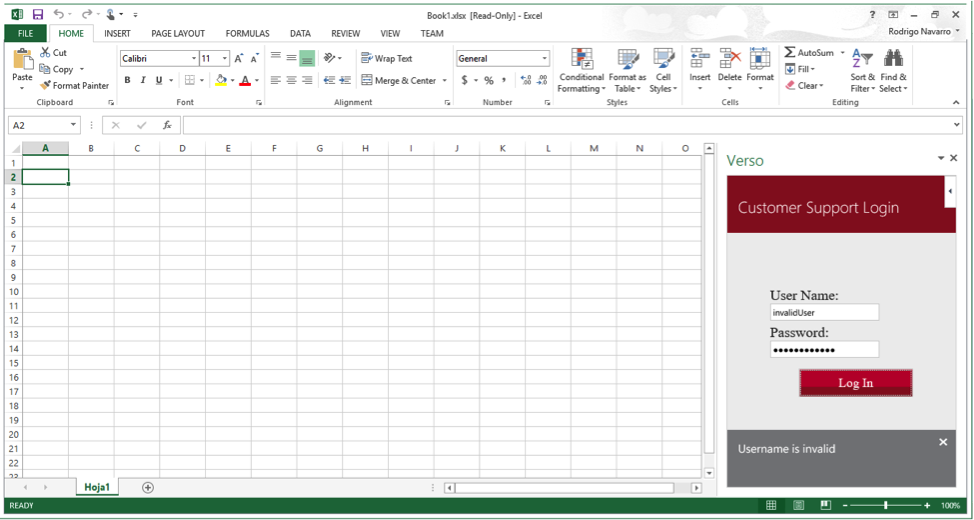
If you input an invalid user, an error message pops up:
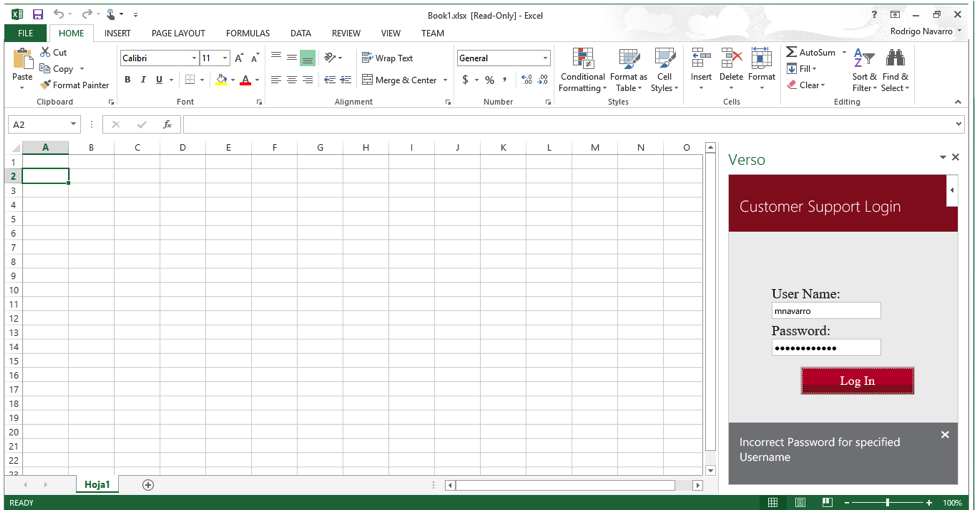
An error message will also appear if the password is incorrect:
When you manage to log in successfully, you will see the following page:
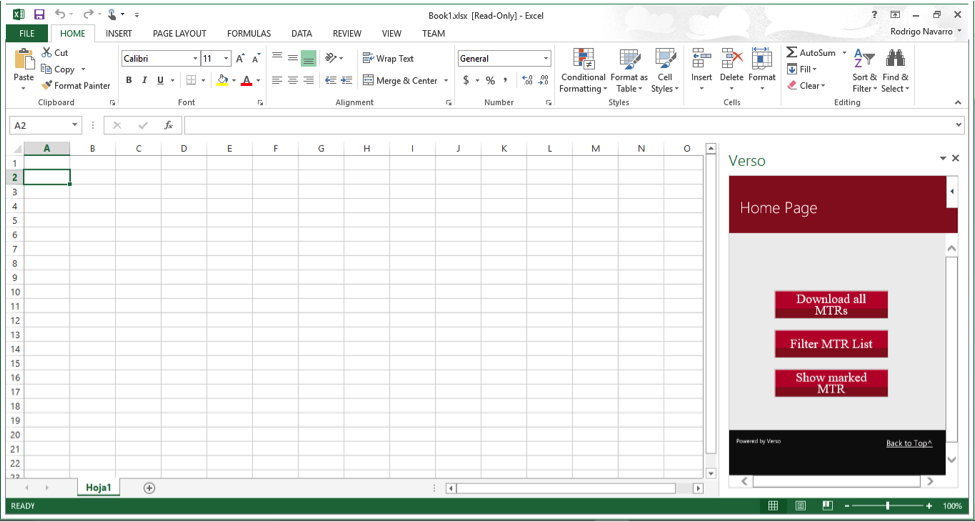
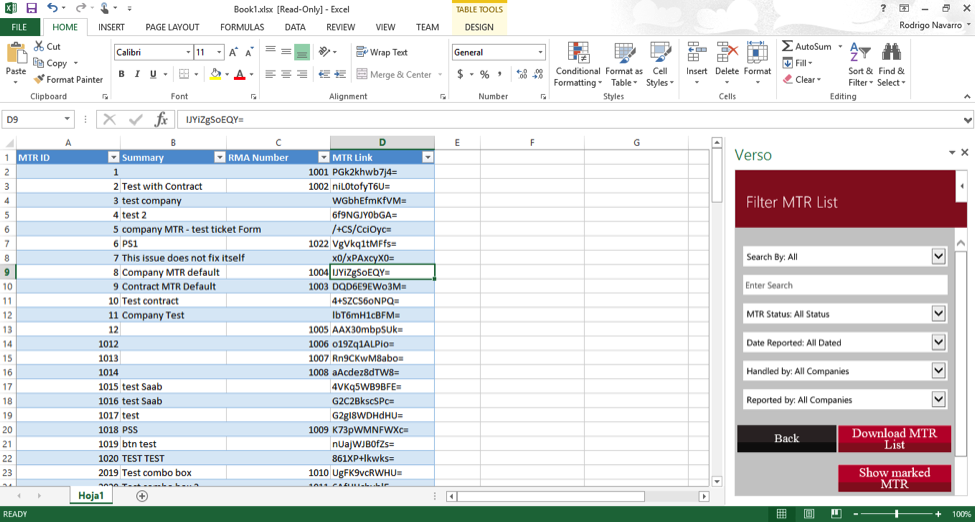
Select the “Download all MTRs” button:
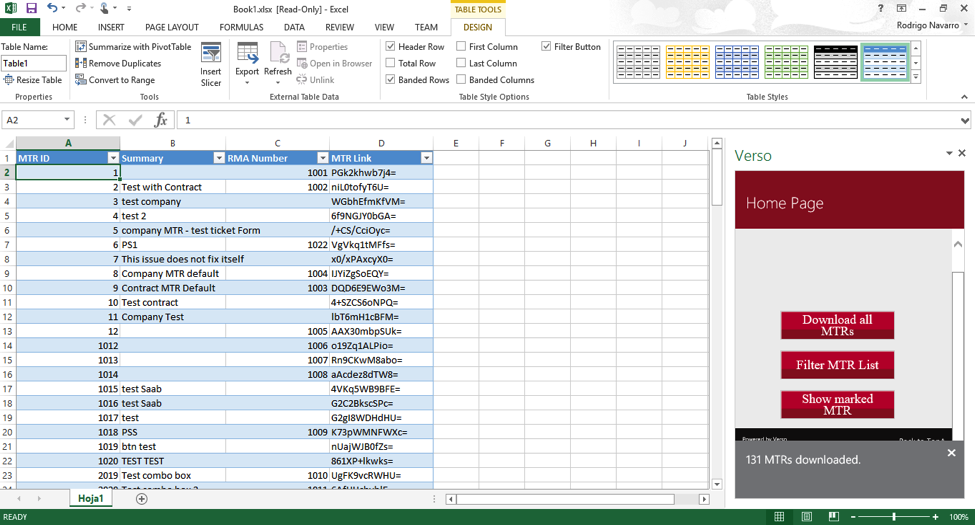
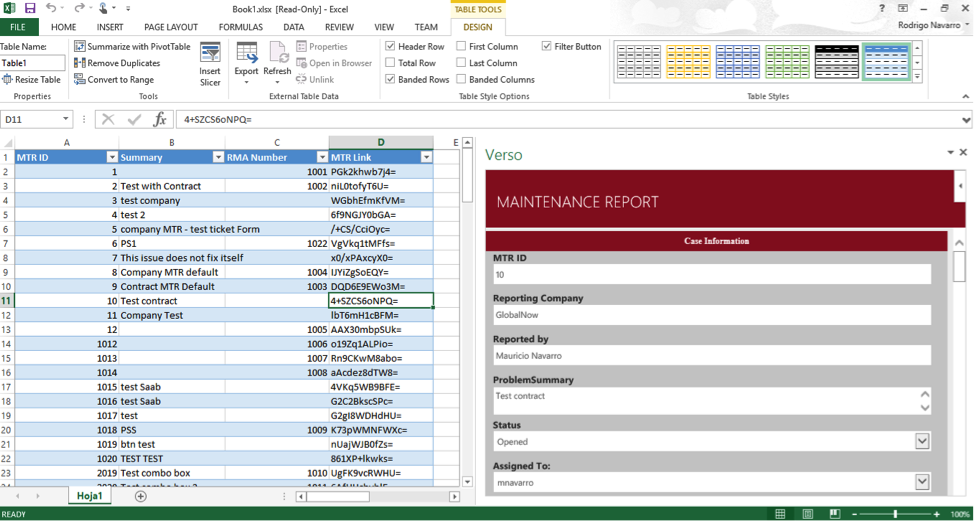
All MTR information is displayed in the excel document.
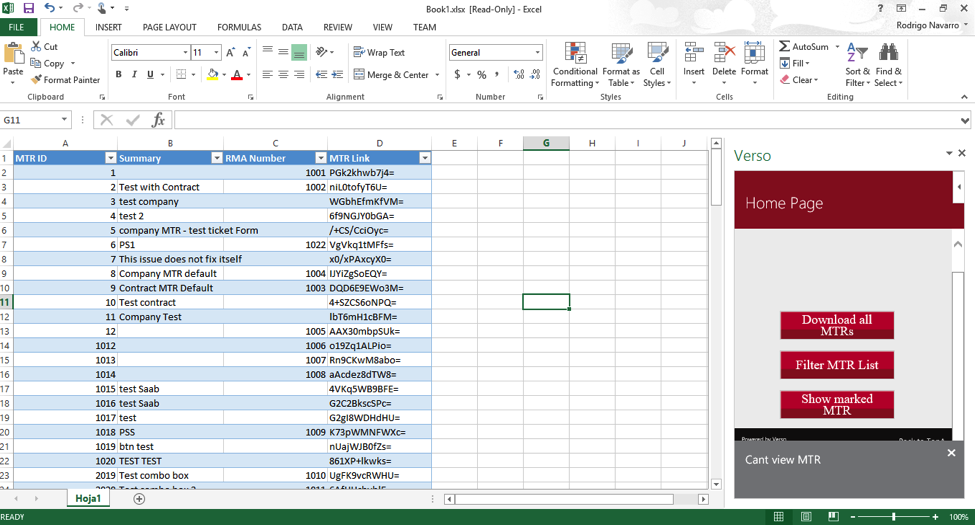
If you touch an invalid cell and hit the “Show marked MTR” button, an error message is displayed:
If you try to download the MTR list over the cells that already have information, an error generated by excel is displayed:
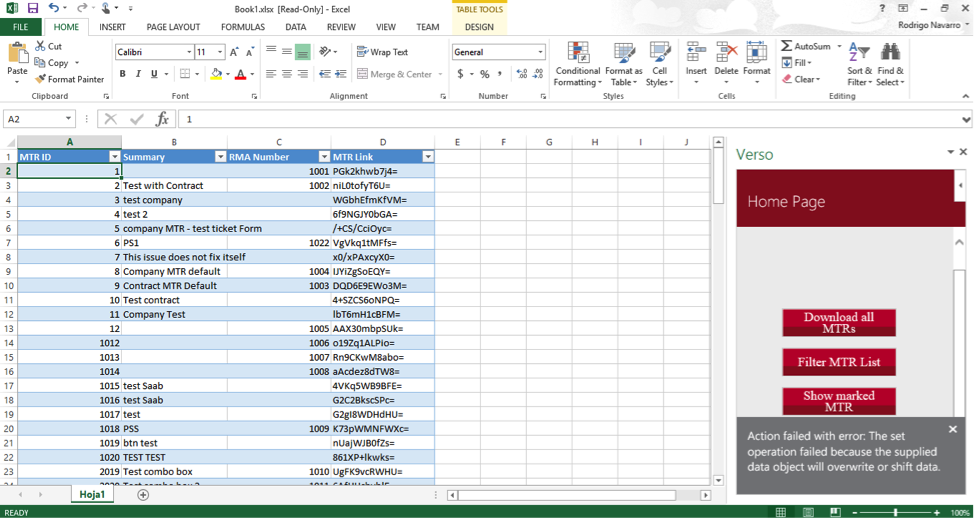
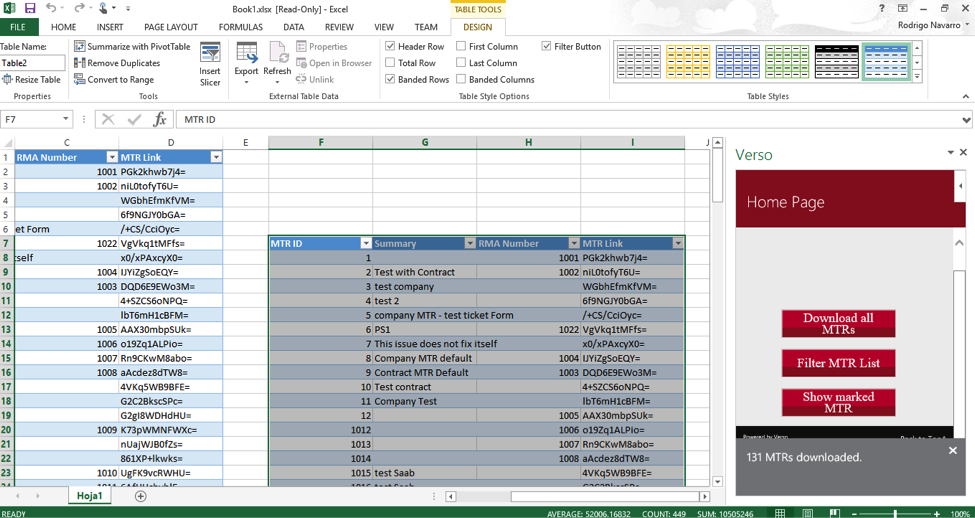
You can always click any other cell and download the list again:
If you what to see only a few MTRs, hit the “Filter MTR List” to go to the following page:
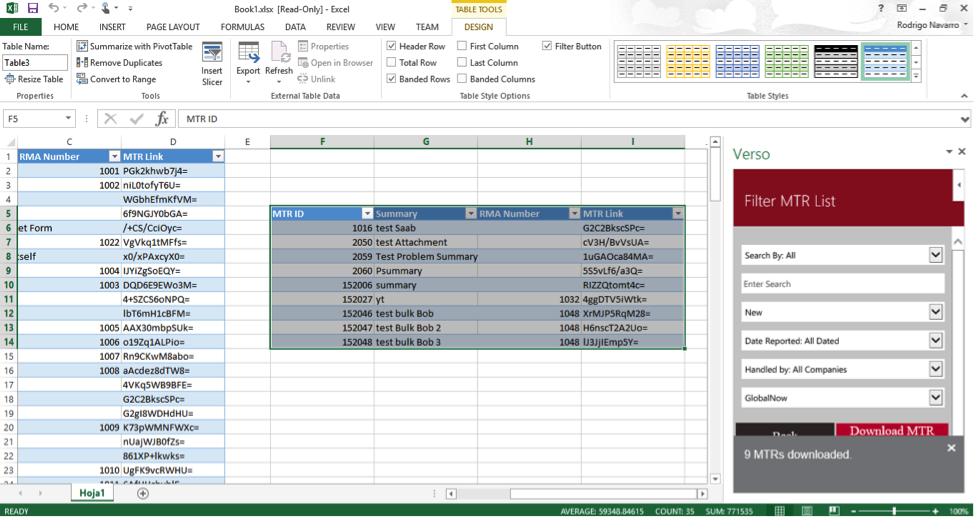
In this page you can use Verso’s normal filter while on the MTR List Page. If you set filters and hit the “Download MTR List” you will get the filtered list:
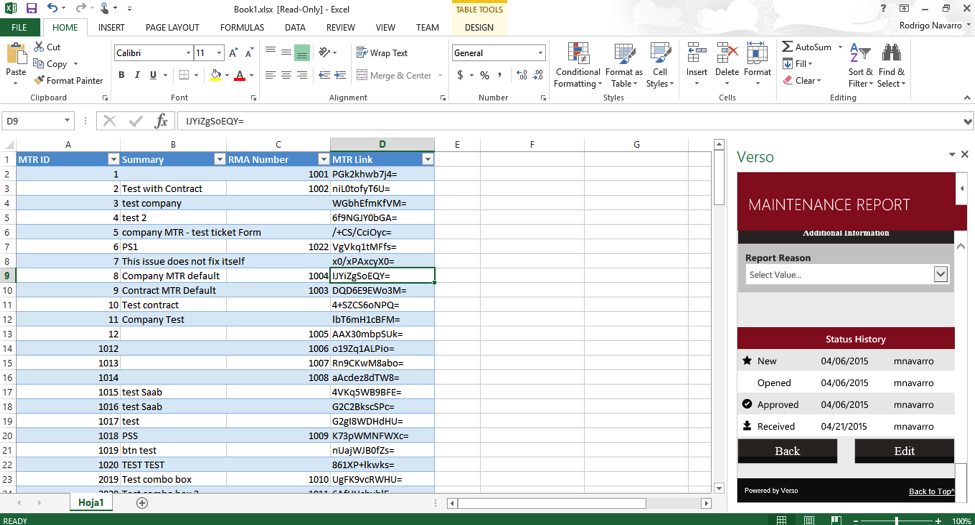
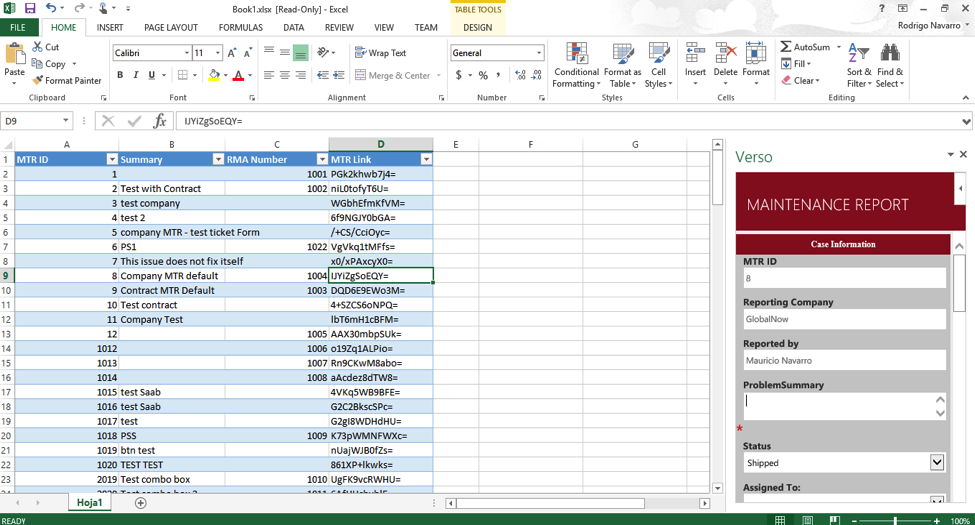
Hit the “Show marked MTR” button on a “MTR Link” cell and the MTR information is displayed (This also applies to the same button on the Home Page):

Everything will be the same as the MTR in Verso:
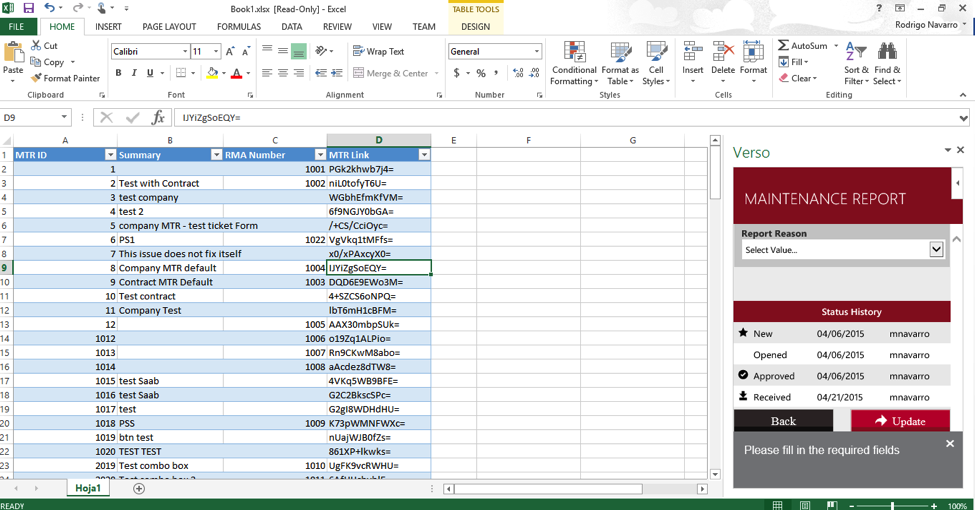
Hit the Edit button, and the edit mode turns on:
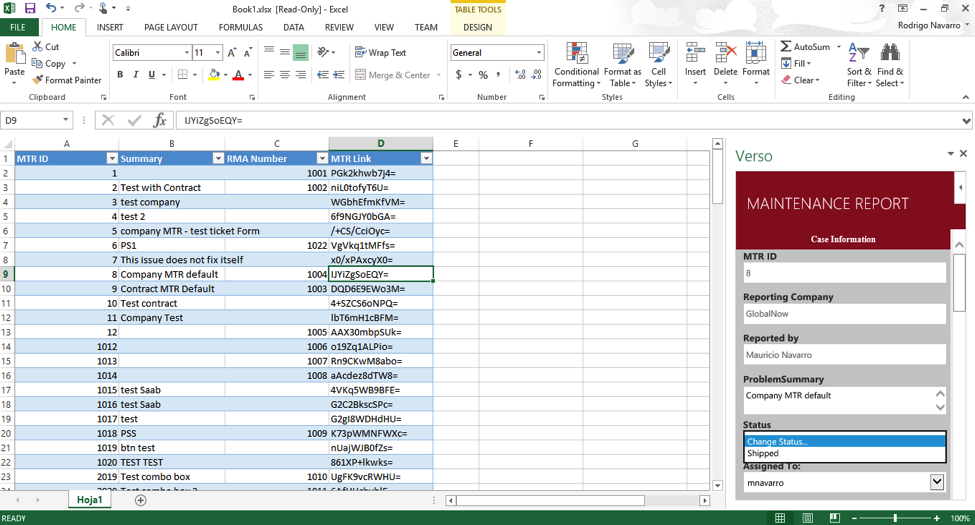
If a field is required, a red * is shown (see Problem Summary Box):
If you try to update the MTR without filling the required fields, a pop up shows indicating the required fields the user needs to complete:
When everything is correct and you hit the update button, a confirmation appears:
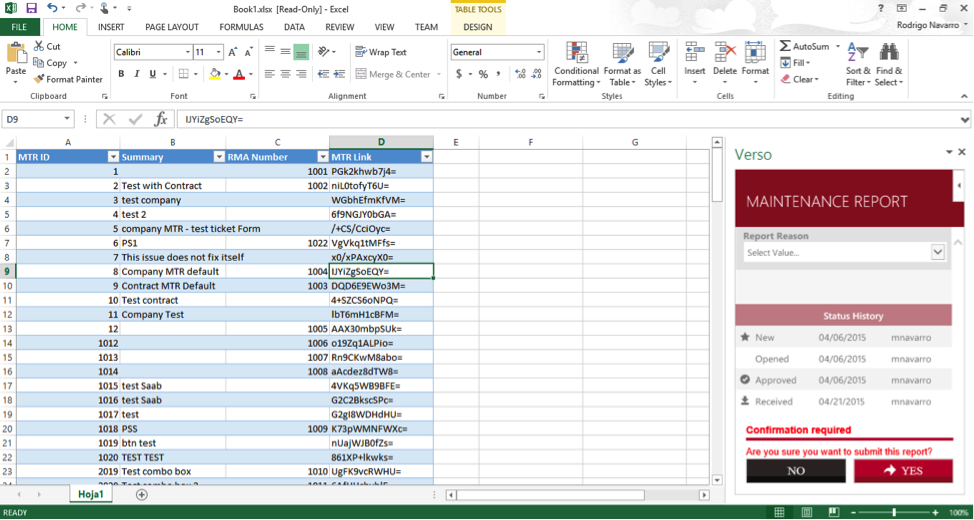
Hit yes and the page is sent back to the start and the data is updated:
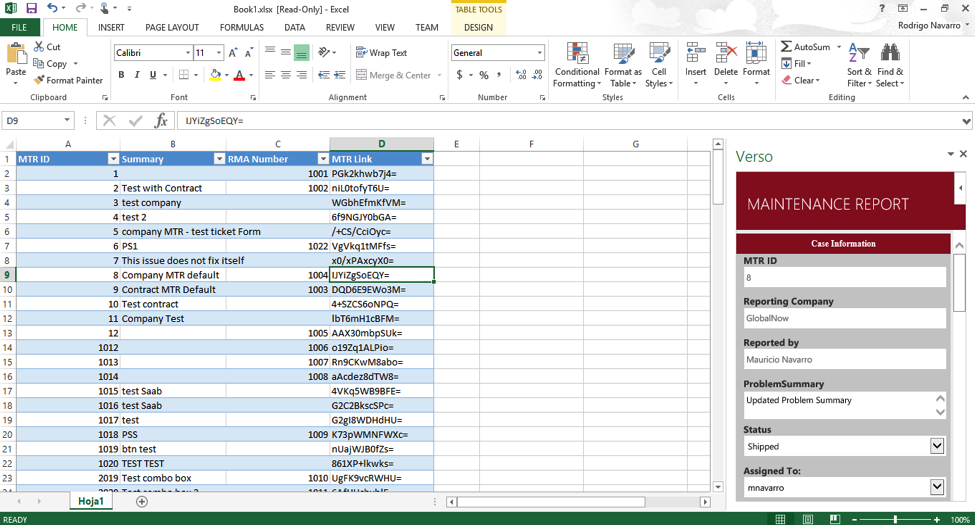
The “Back” button will take you back to the Home menu:

Remember that you can always make the add-in visibly larger if you prefer:
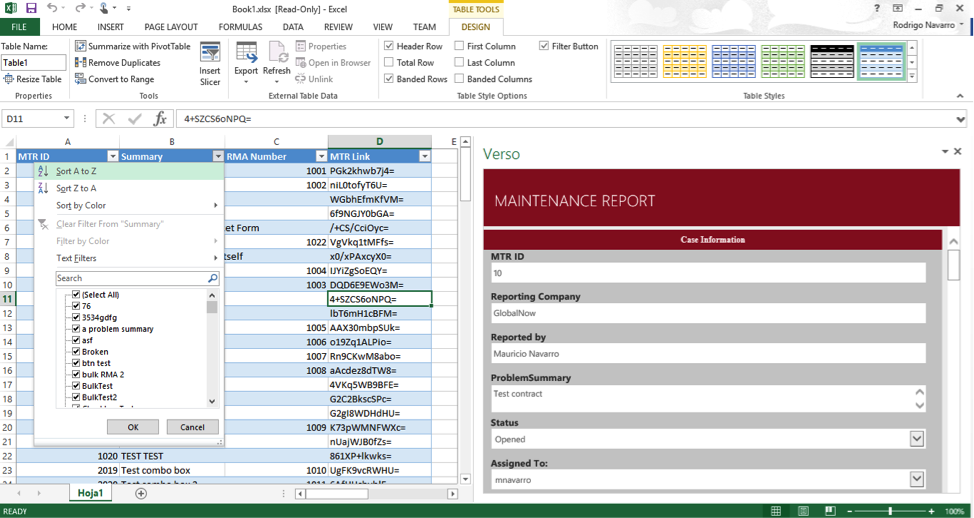
You can also sort and filter the information displayed on the workbook:
Outlook Add-In
The following document will show how the Outlook add-in is used.
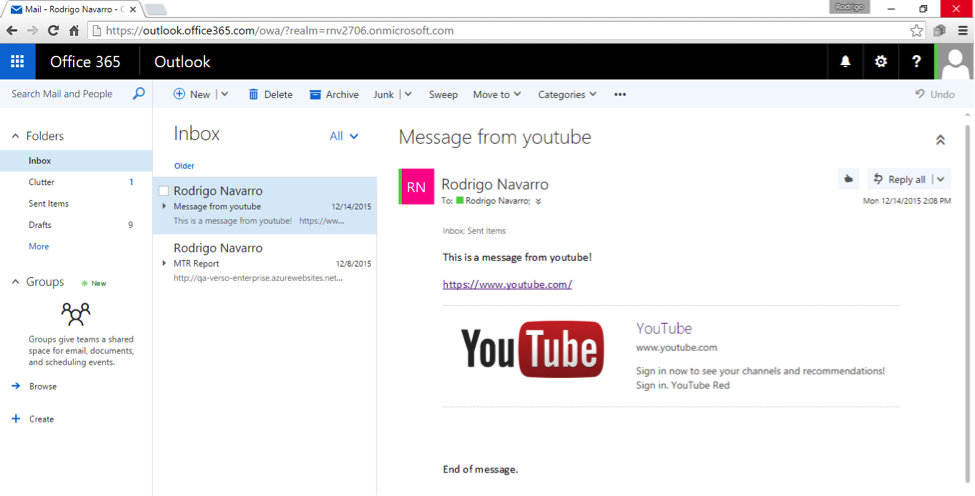
When you open an email that does not contain a MTR link in it, the Add-In does not activate:
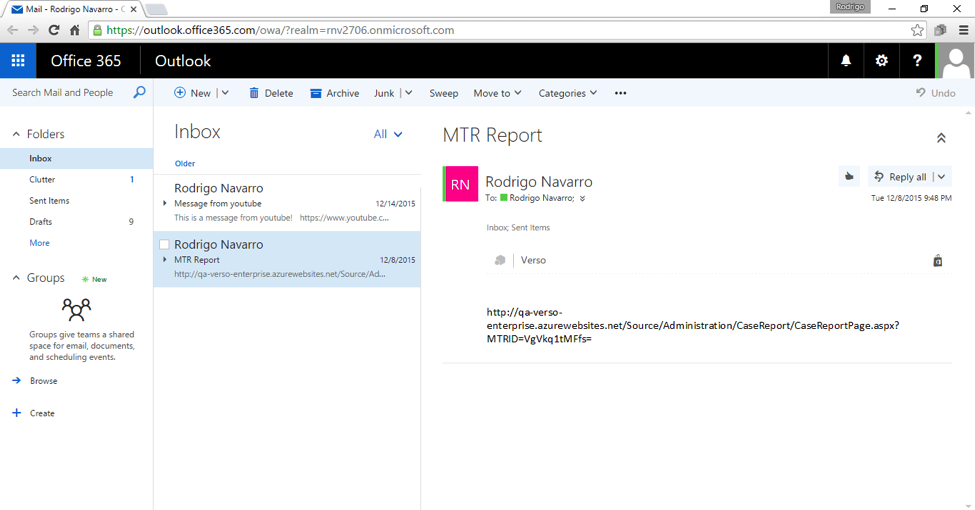
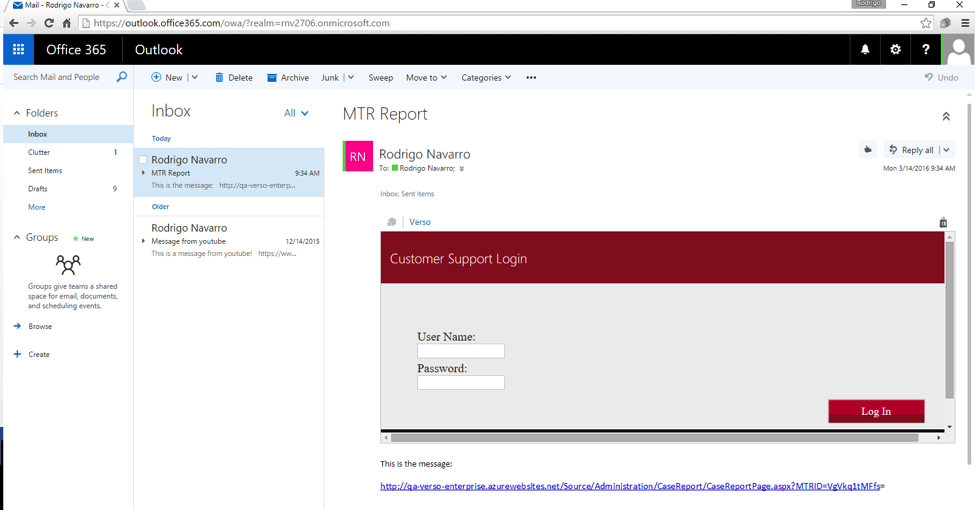
Once you open an email that has a link of a MTR, the “Verso” option appears at top of the email:
When you click it, the login page is displayed:
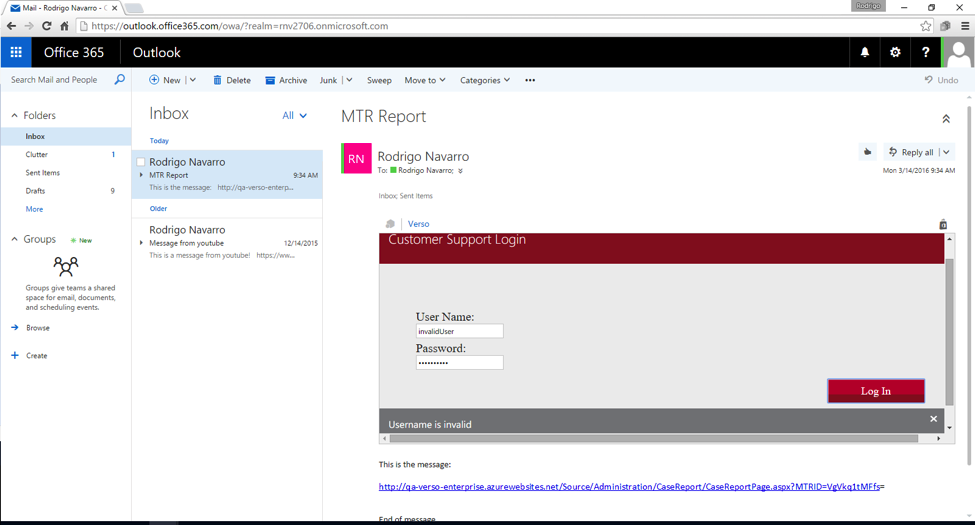
If you input an invalid user, an error message pops up:
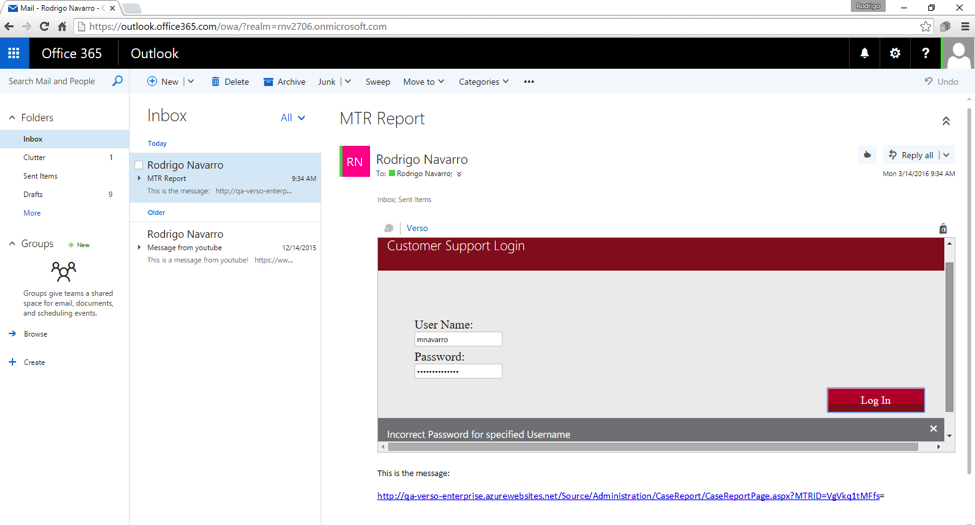
An error message will also appear if the password is incorrect:
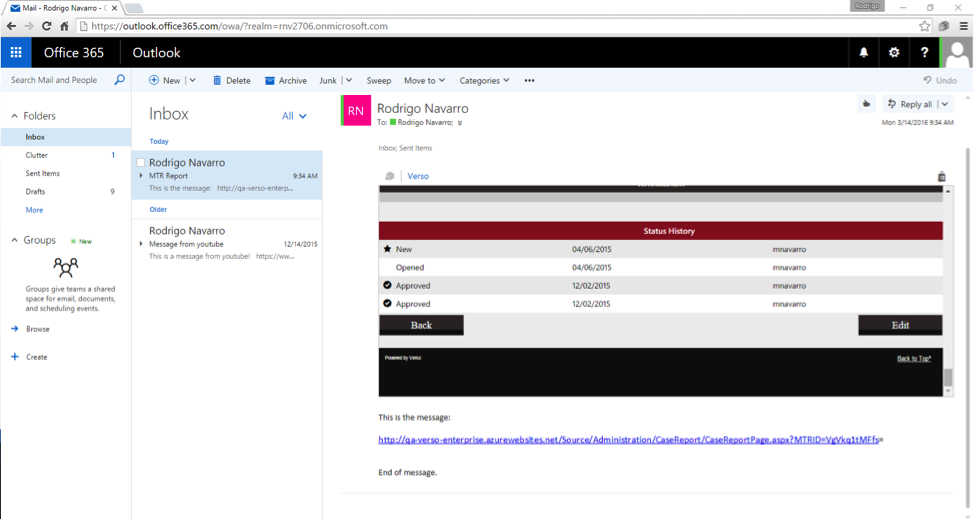
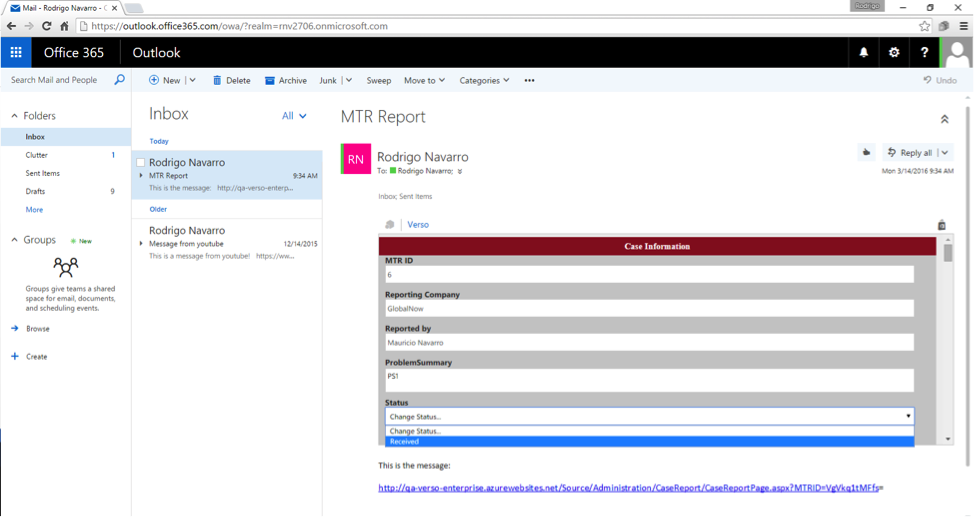
When you manage to log in successfully, the Add-In automatically reads the MTR link from the email and displays all the information:

Everything will be the same as the MTR in Verso:
Hit the Edit button, and the edit mode turns on:
If a field is required, a red * is shown (see Problem Summary Box):
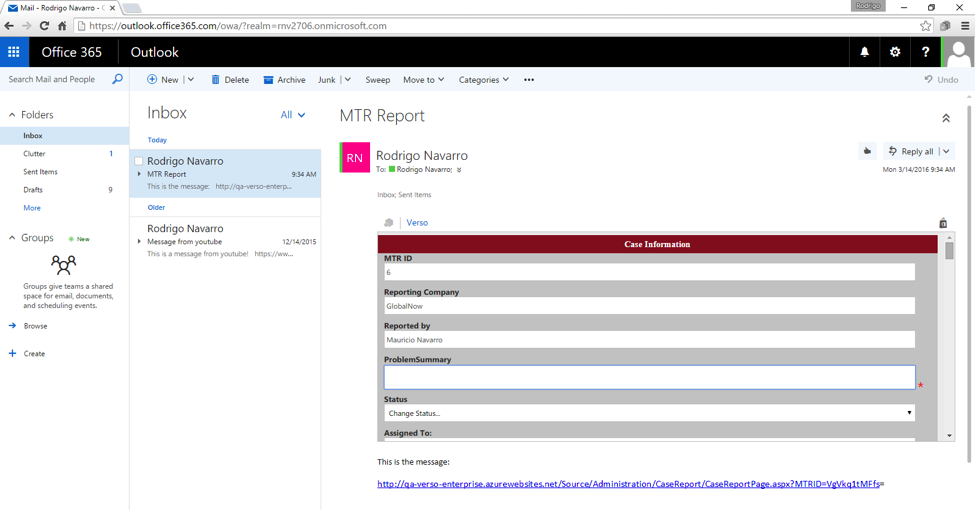
If you try to update the MTR without filling the required fields, a pop up shows indicating the required fields the user needs to complete:

When everything is correct and you hit the update button, a confirmation appears:
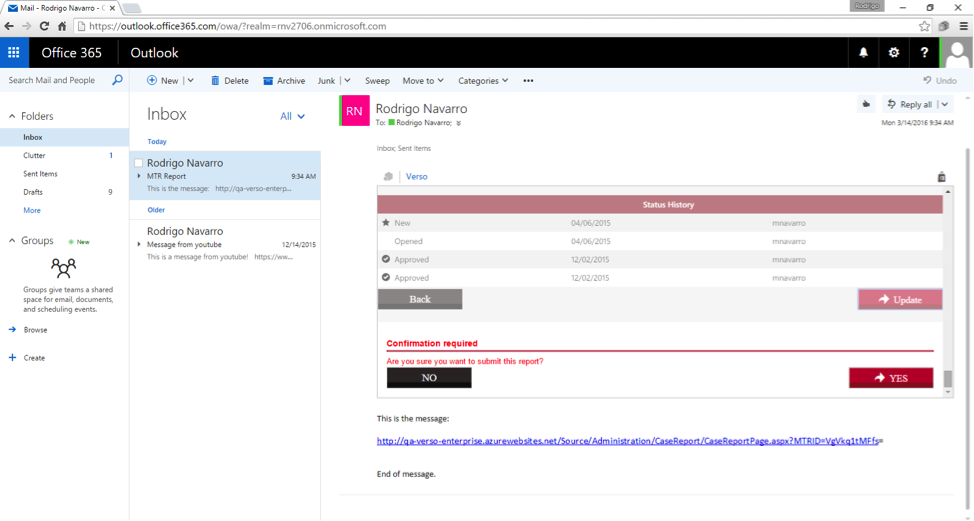
Hit “yes” and the page is sent back to the start and the data is updated:

With the “Back” button you can log out:
